
 |
Feb./March 2006,
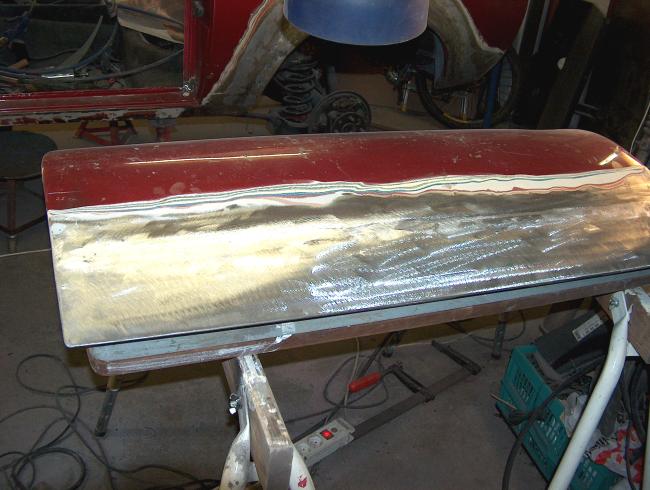
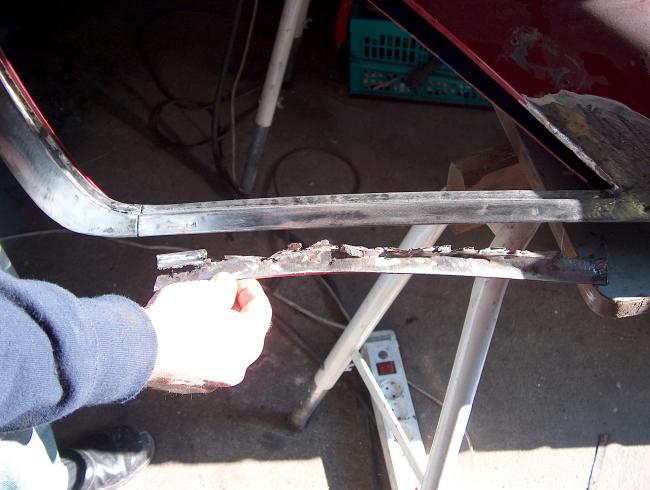
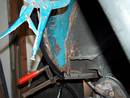
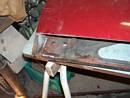
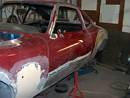
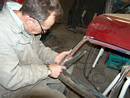
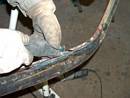
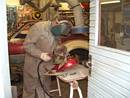
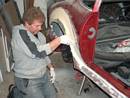
week 9: Now left rear bumber is done – both inside and
outside. |
 |
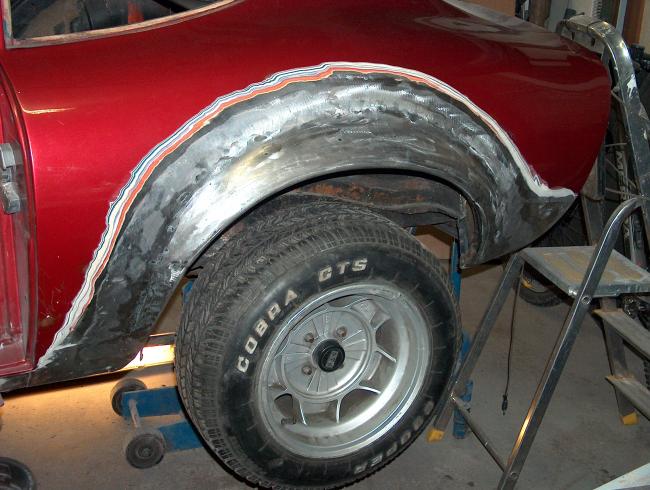
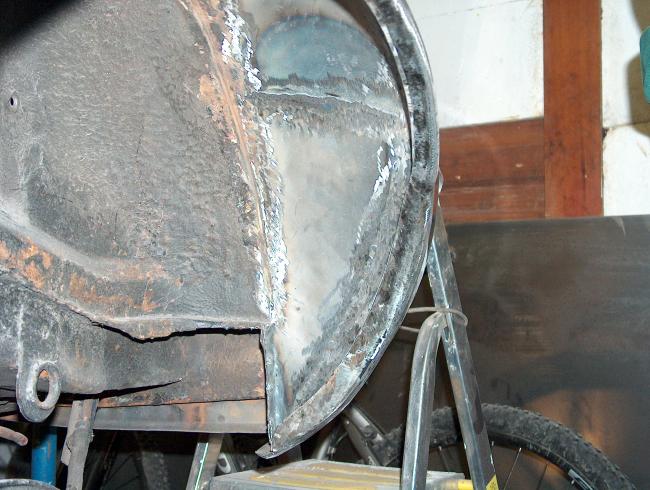
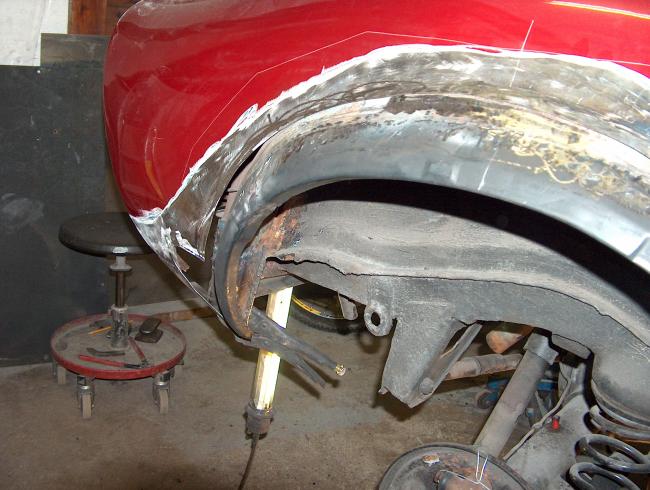
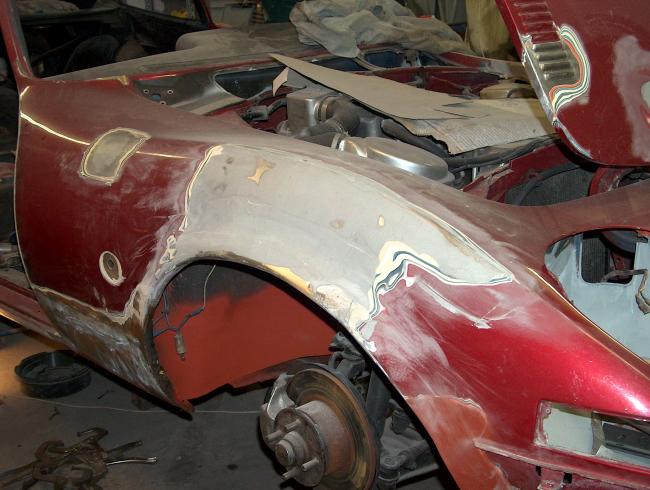
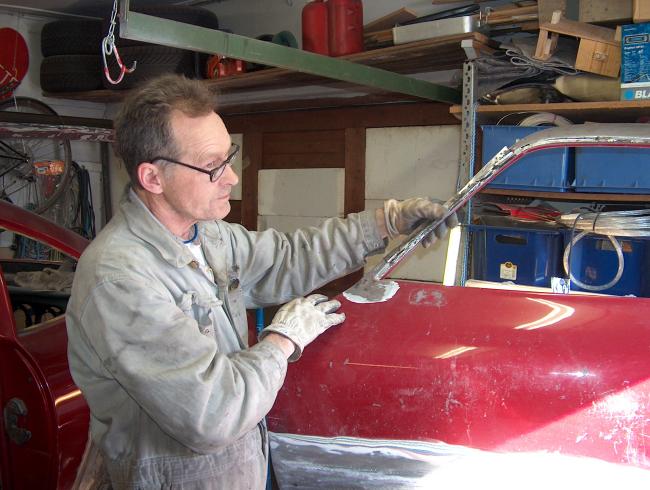
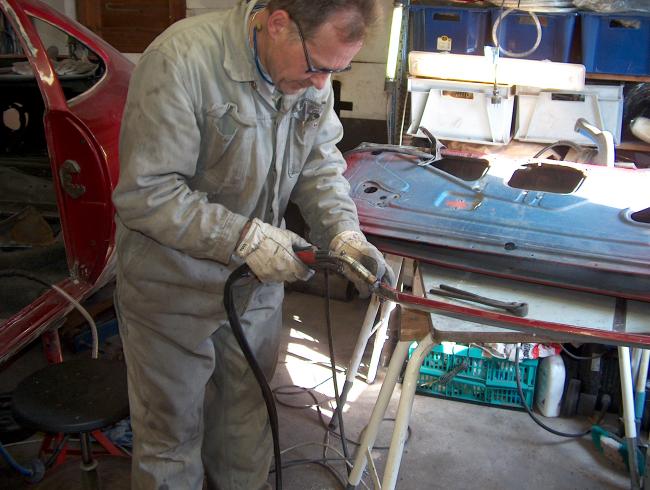
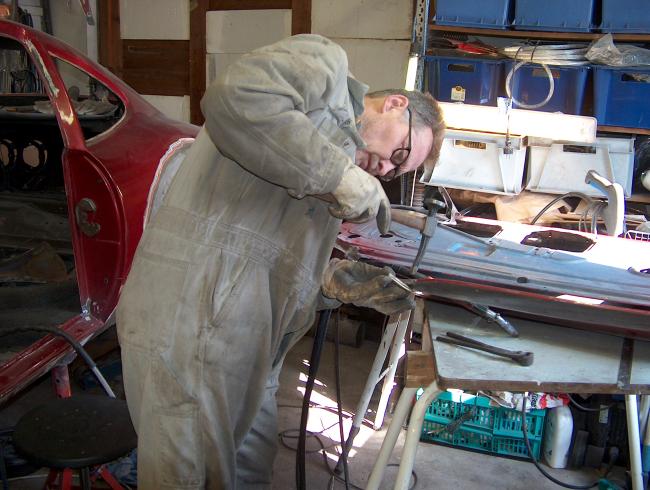
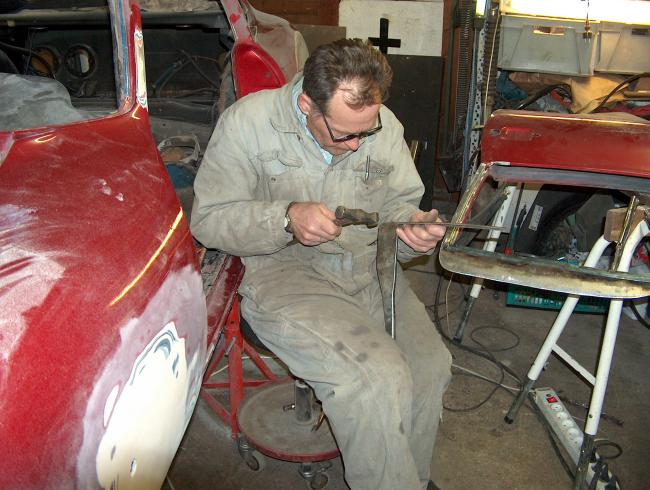
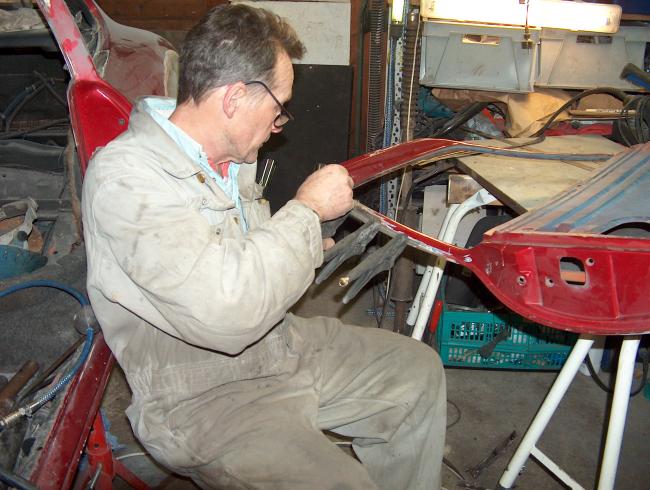
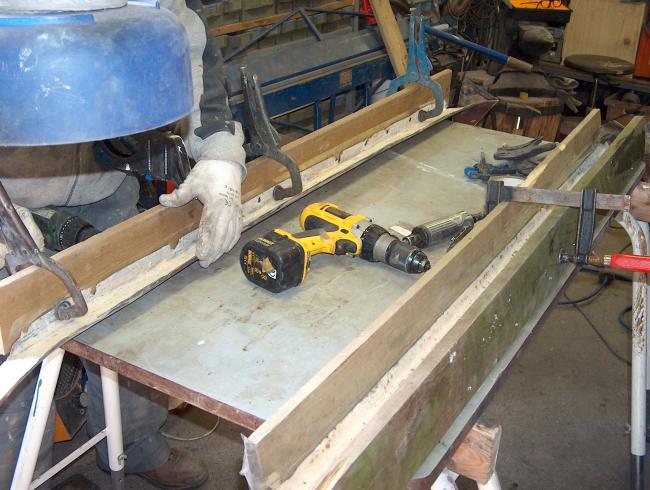
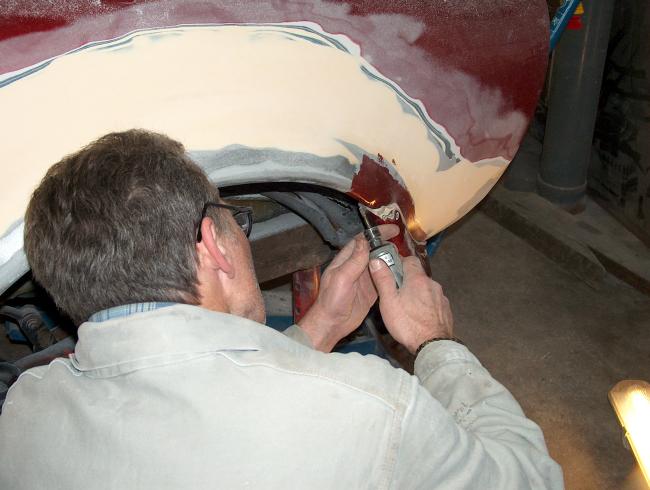
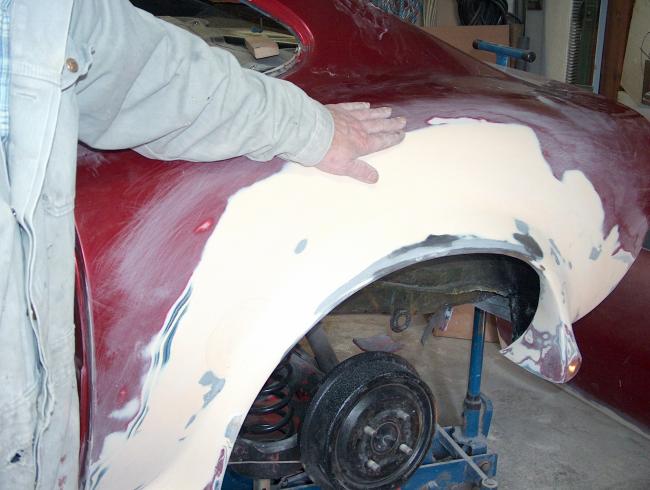
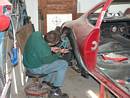
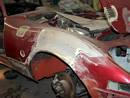
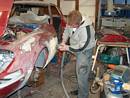
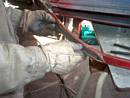
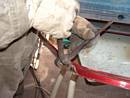
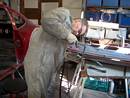
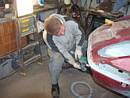
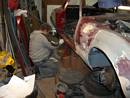
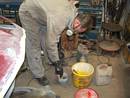
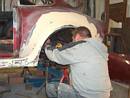
Dad continues at the right side. |
 |
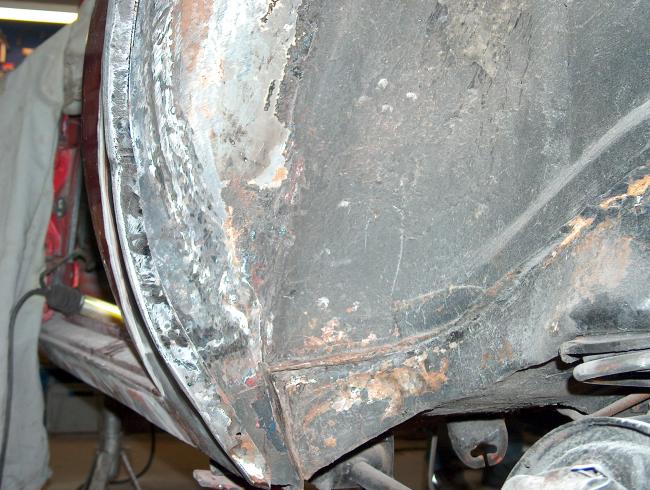
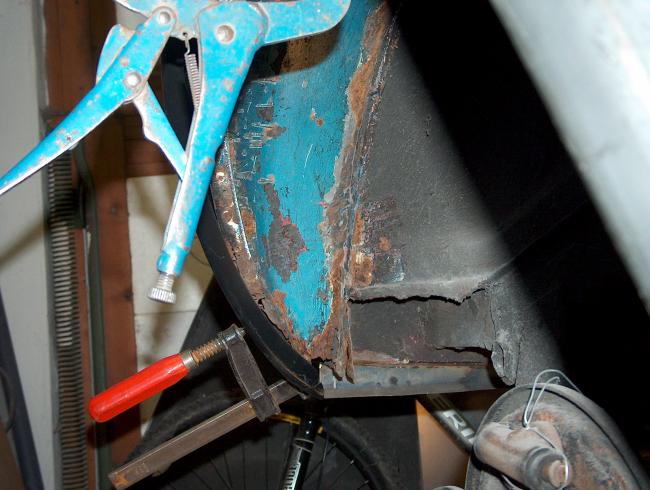
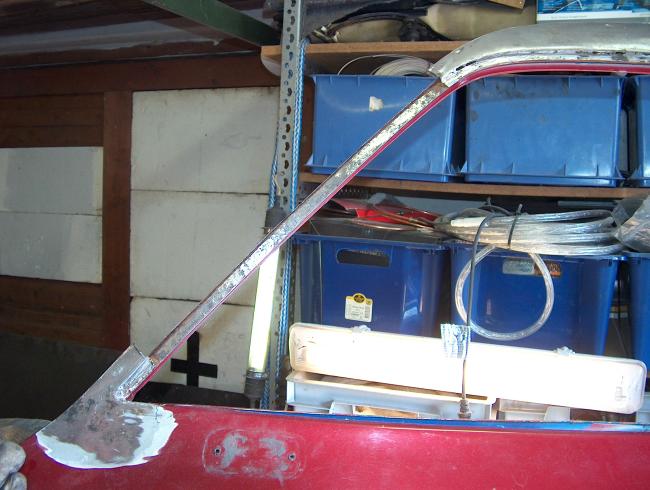
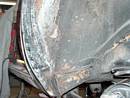
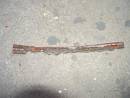
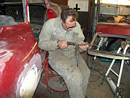
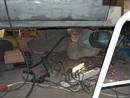
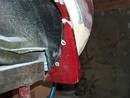
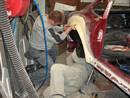
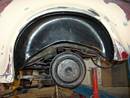
Right rear mudguard under construction. |
 |
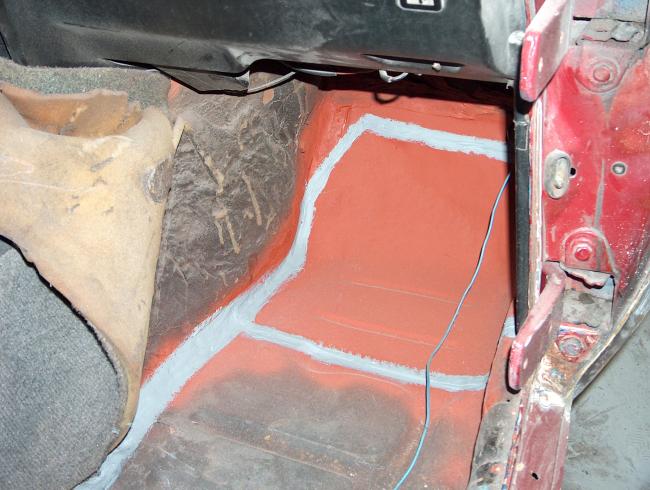
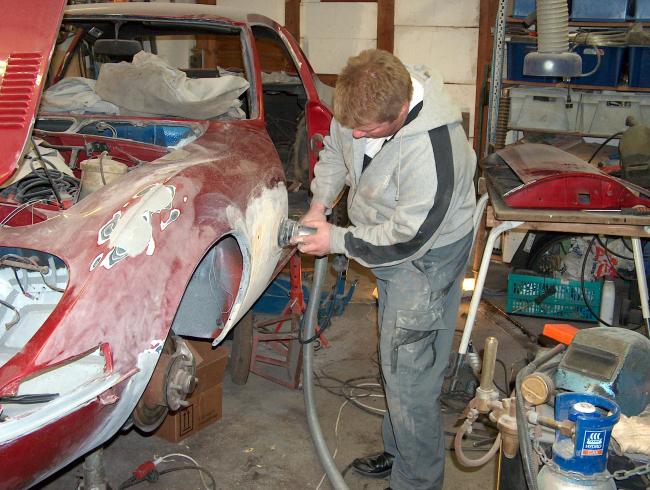
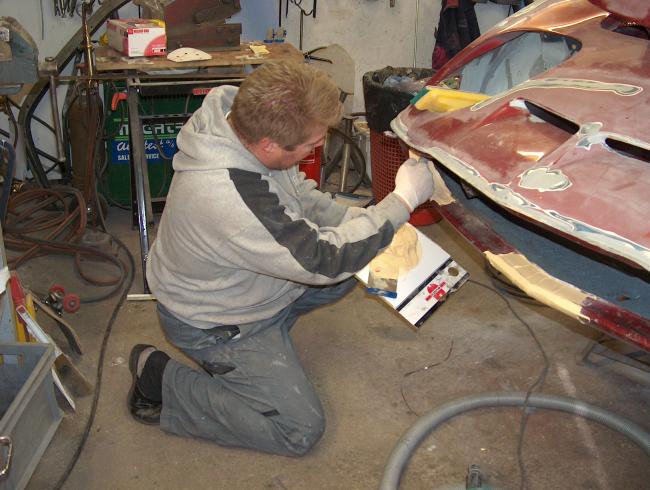
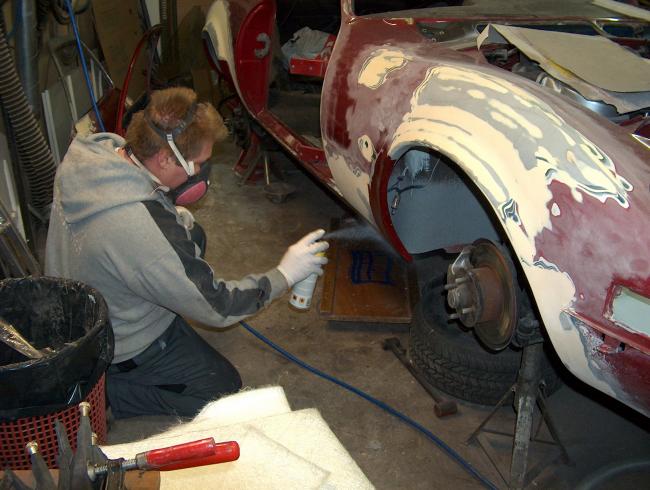
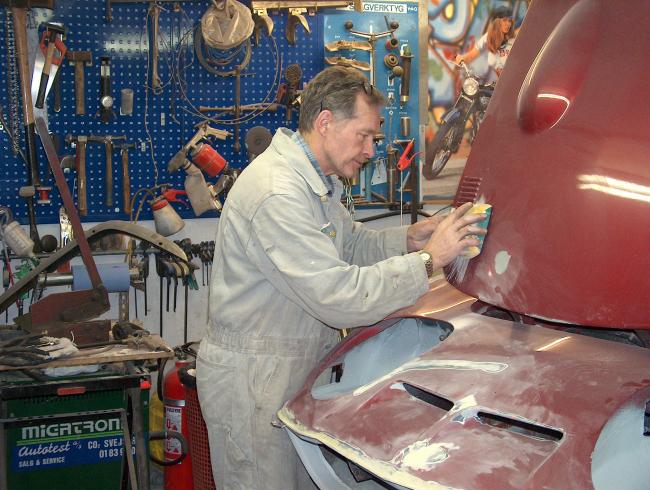
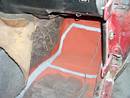
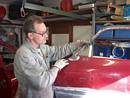
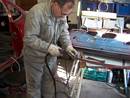
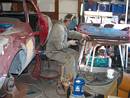
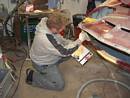
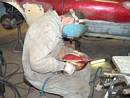
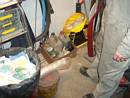
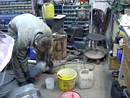
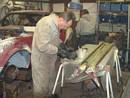
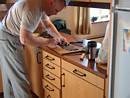
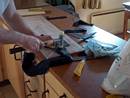
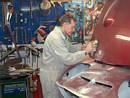
While dad works on the plate smith work, Max takes care of all the priming,
sealing and sandpapering work. |
 |
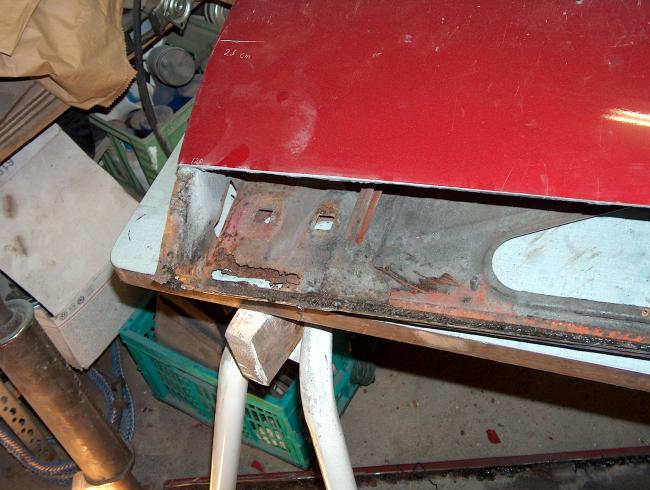
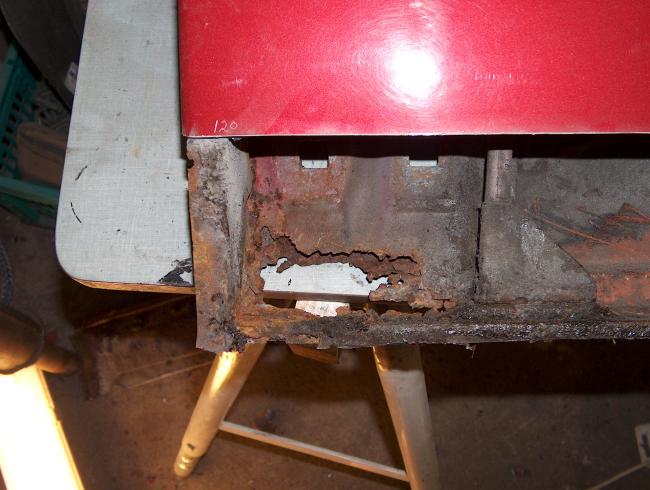
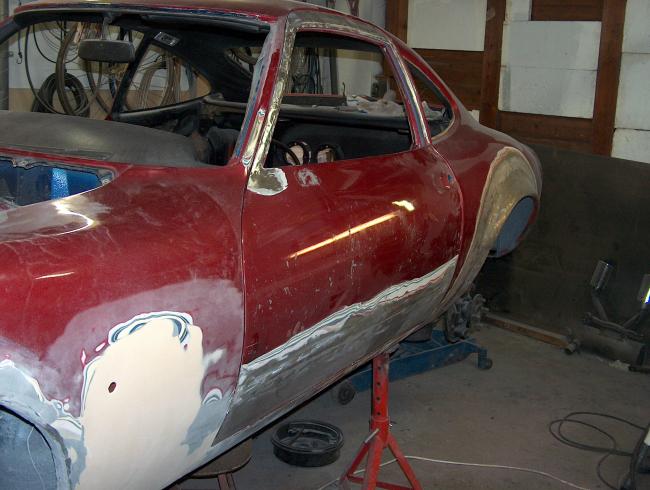
The left door was very rotten! We had tried to find a better one, but with
no luck. |

 |
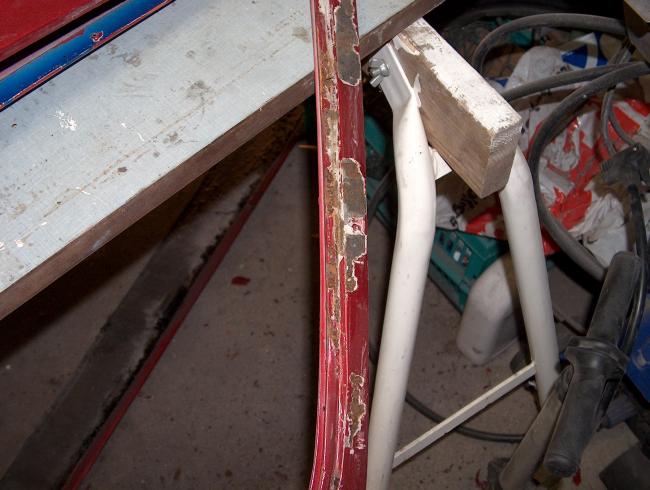
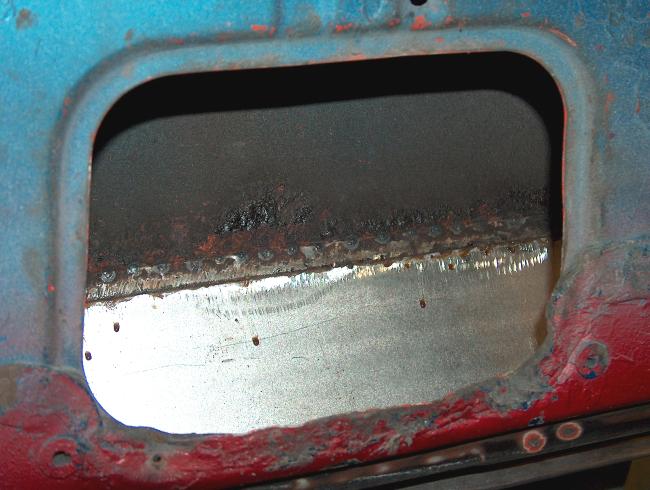
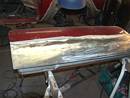
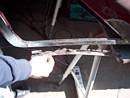
The lower part of the left door is cut off. |
 |
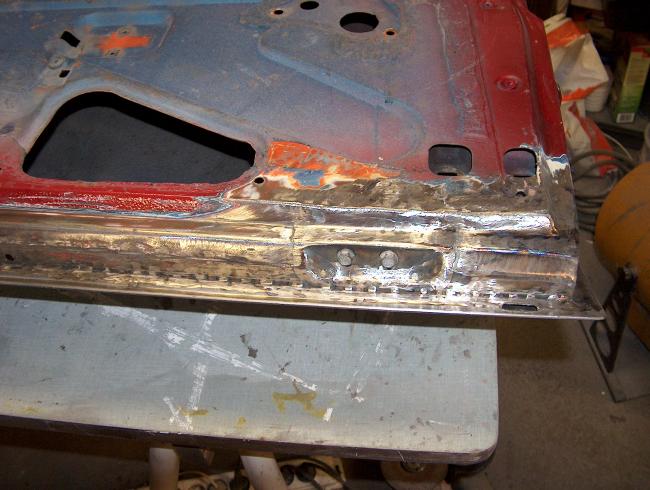
March 2006, week 10:
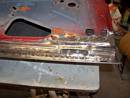
The lower part and both corners are now perfectly replaced. |
 |
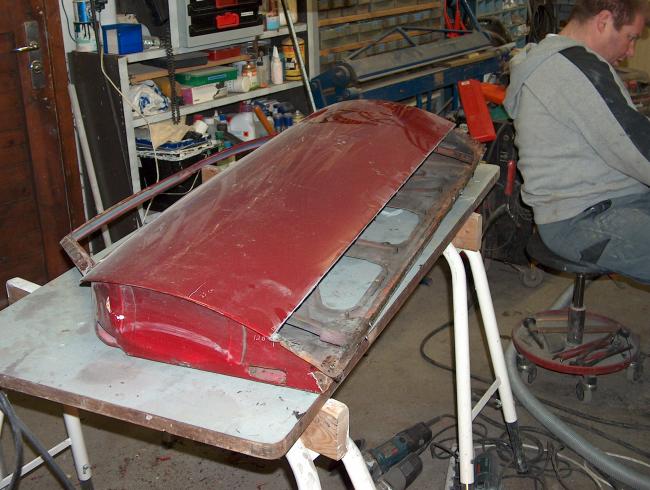
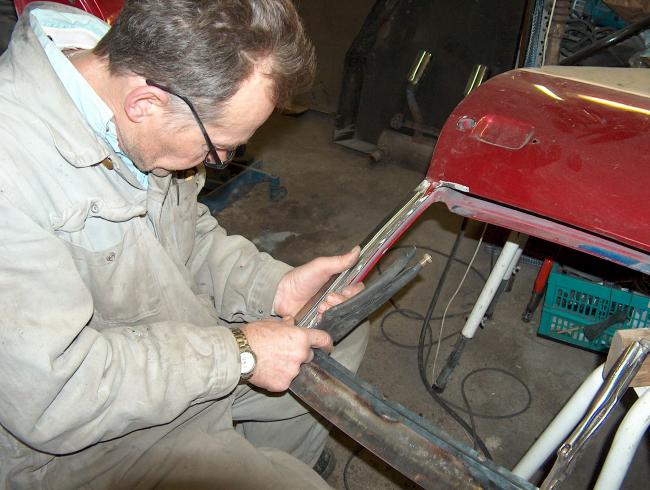
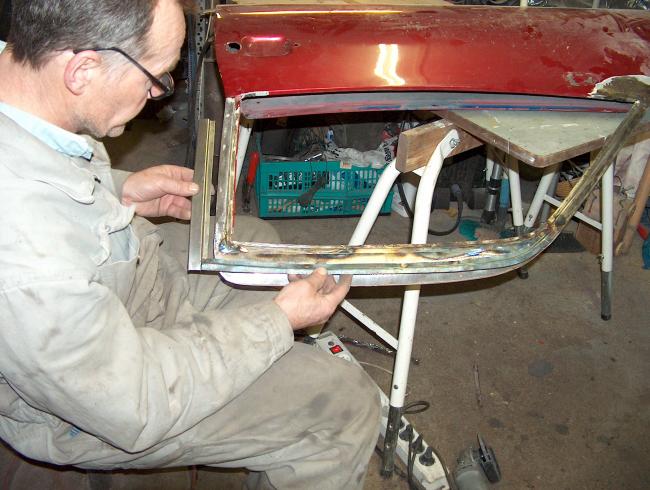
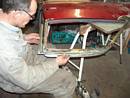
The left door is tried on to see how it fits.
The weldings seen from the inside. |
 |
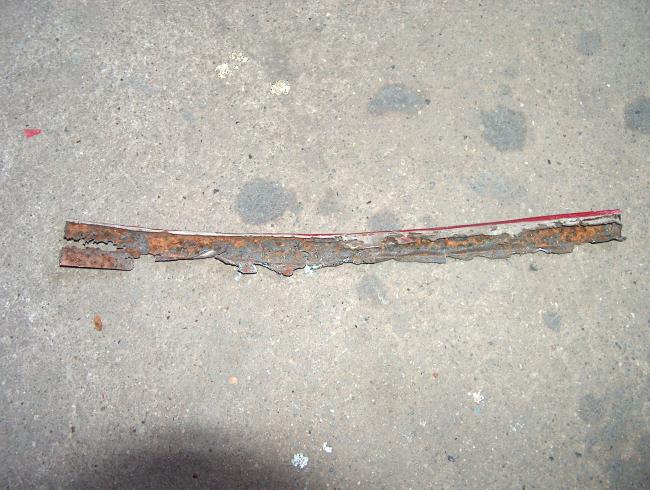
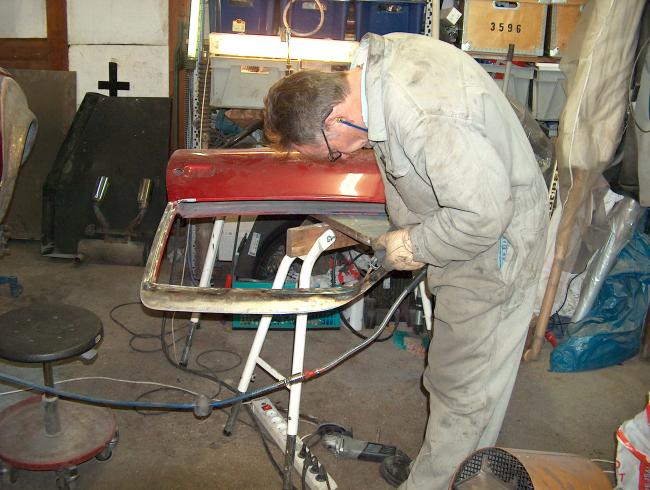
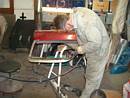
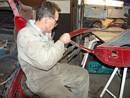
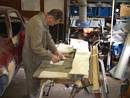
Dad starts ”the fun part” (his own words), the rebuilding of the upper part
of the door.
Before and after and the cut off piece on the floor. |
 |
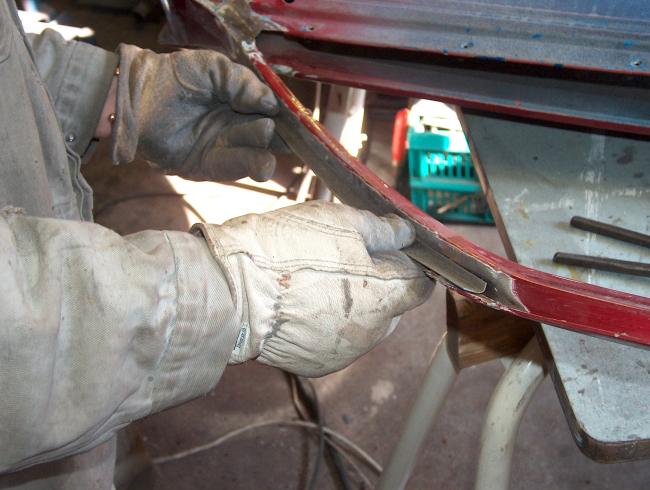
Quite a fiddling work. |
 |
Another ”before and after” piece. |
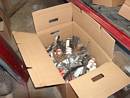 |
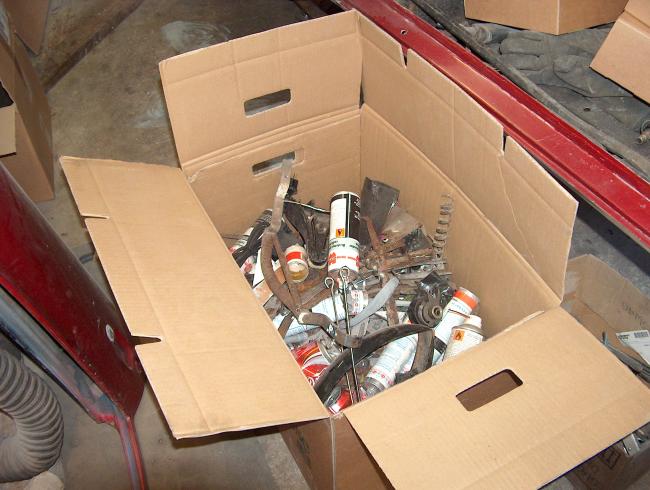
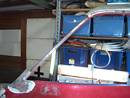
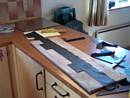
… and Max continues his sealing, priming and sandpapering work.
A box full of GT-waste: cuttings, serveral empty cans and pots. It takes
much more material than supposed. |
 |
March 2006, week 11:
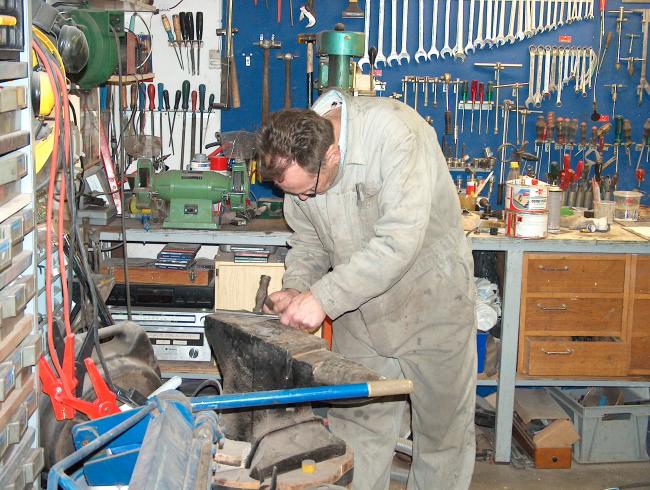
Dad is having fun with the left door.
|
 |
Genuine workmanship. |
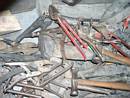 |
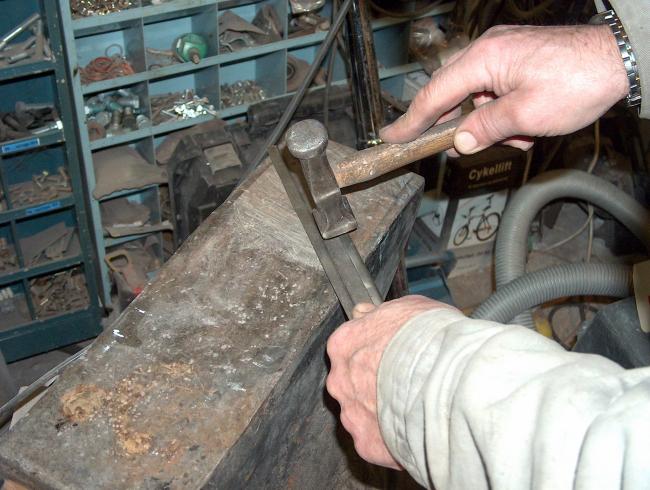
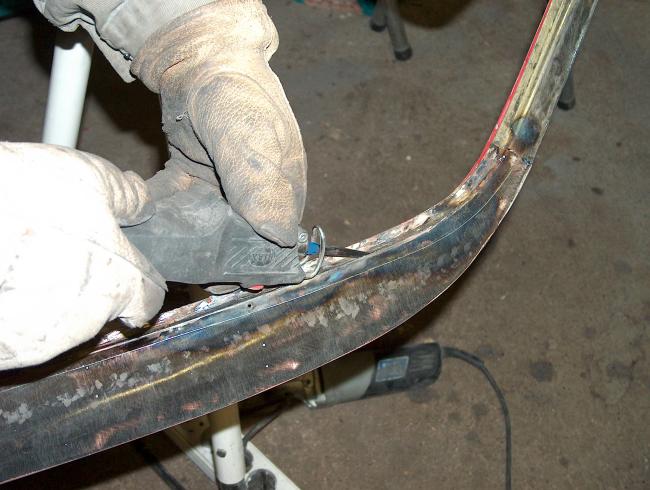
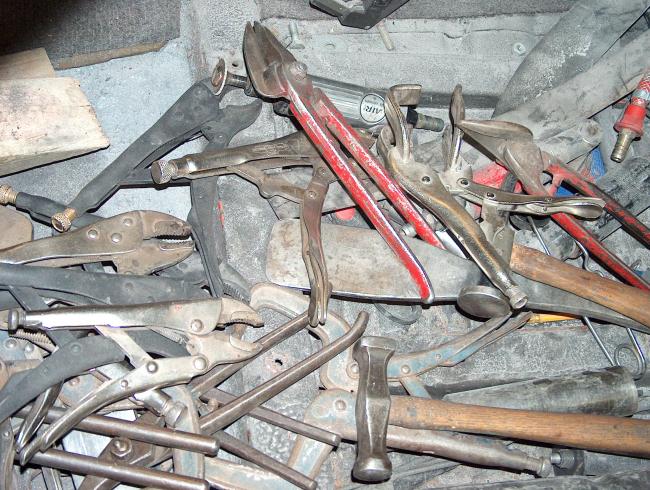
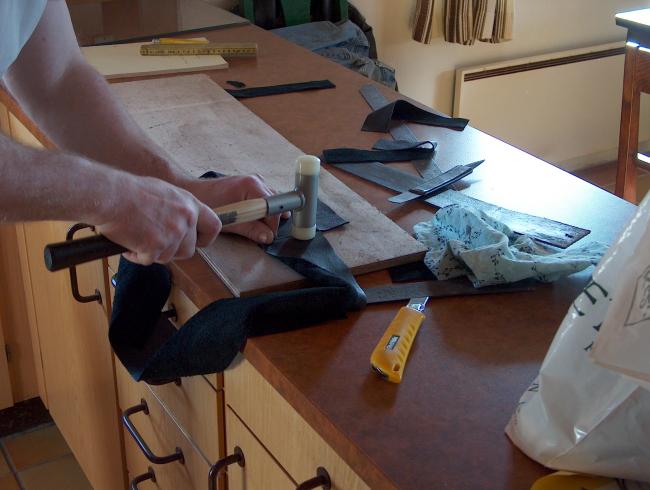
The old part is cut off.
A selection of tongs and nippers. |

 |
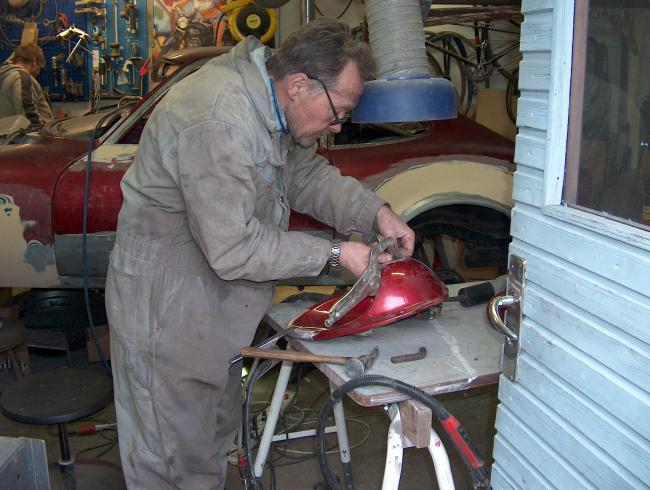
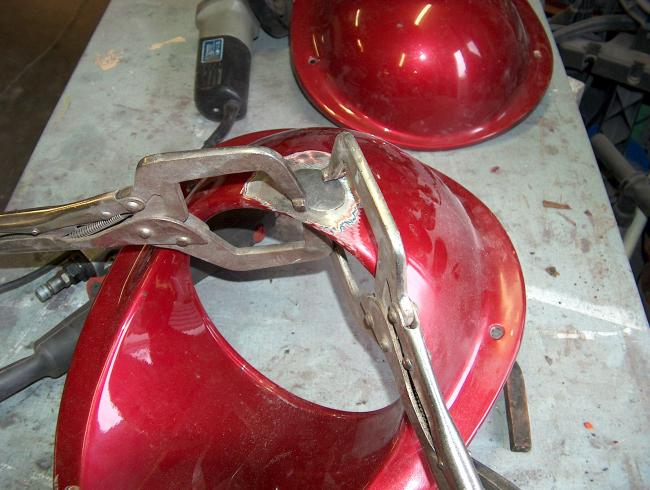
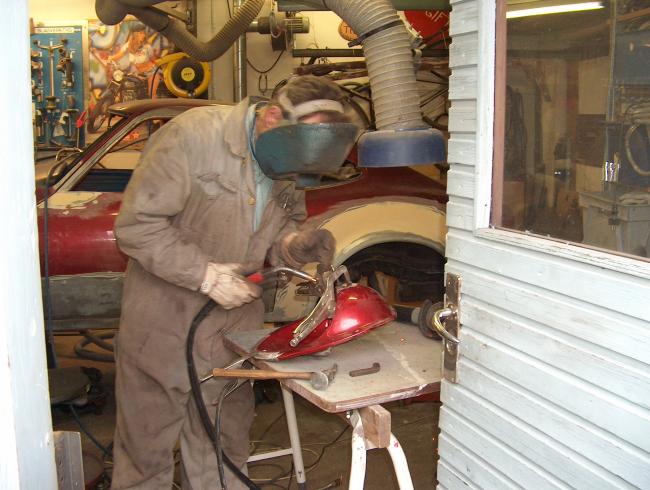
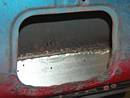
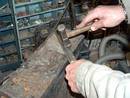
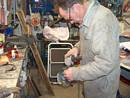
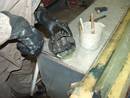
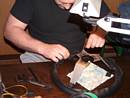
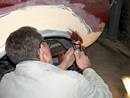
The headlights also need an overhaul.
The outflow hole in one of them was too big due to rust, so dad closed it
and made a new one! Closing a hole to make a new one really makes sense! ;) |
 |
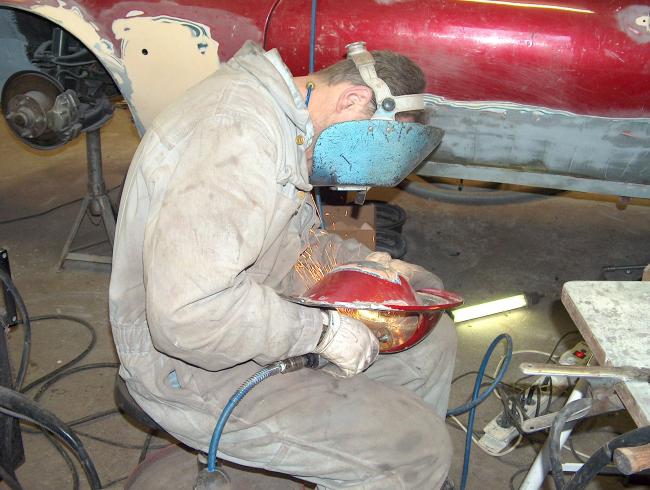
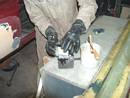
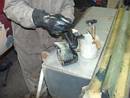
The headlight is cleaned thoroughly inside. A last check of the bottom and
now all the steel plate work is finished. |
 |
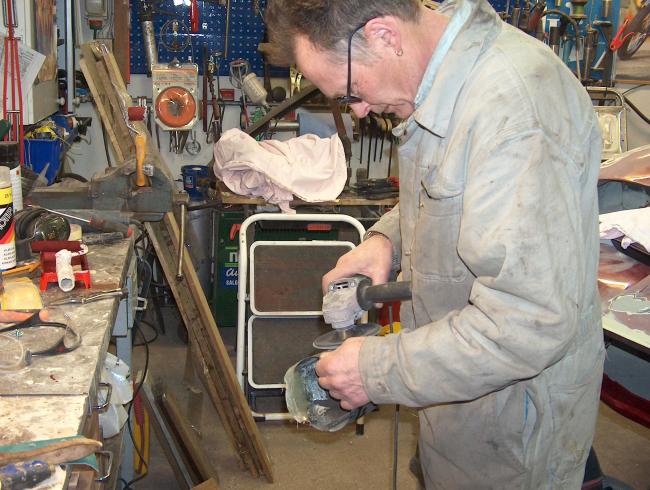
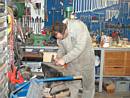
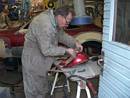
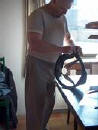
... Max continues priming.
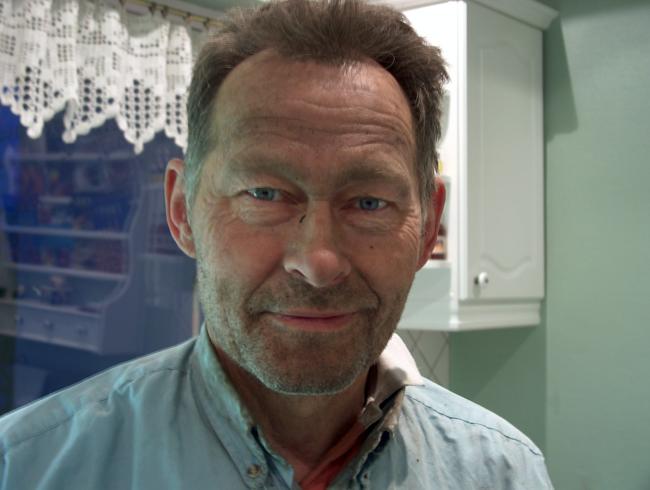
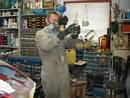
A dirty dad. Dad is sure the dirt jumps onto him, actually he does nothing
to get this dirty. :) |
 |
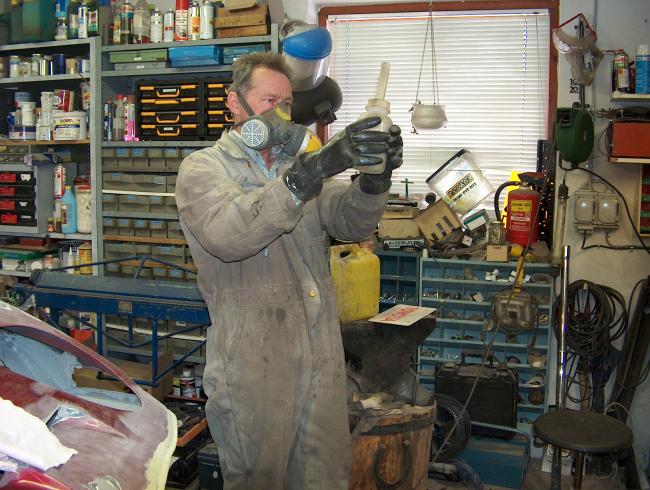
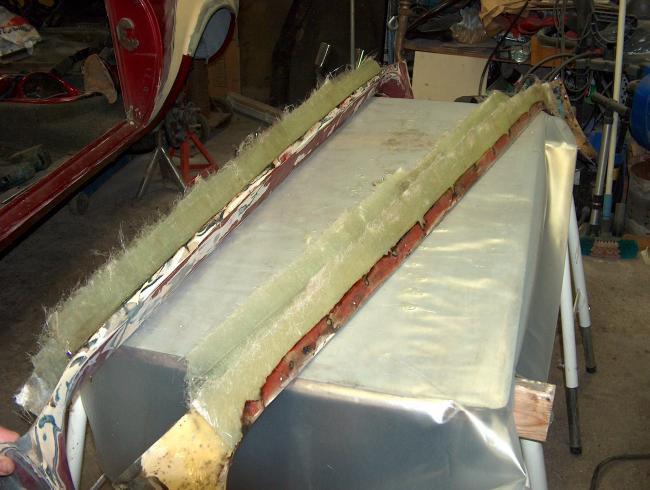
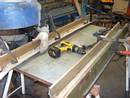
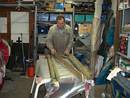
Dad has brought all the materials for the fibreglass work. Both dad and Max
thought the expansion set was too flimsy.
They made forms of boards. |

 |
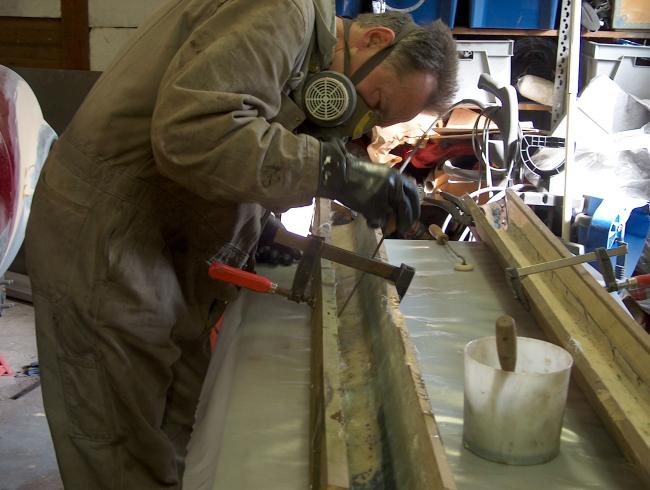
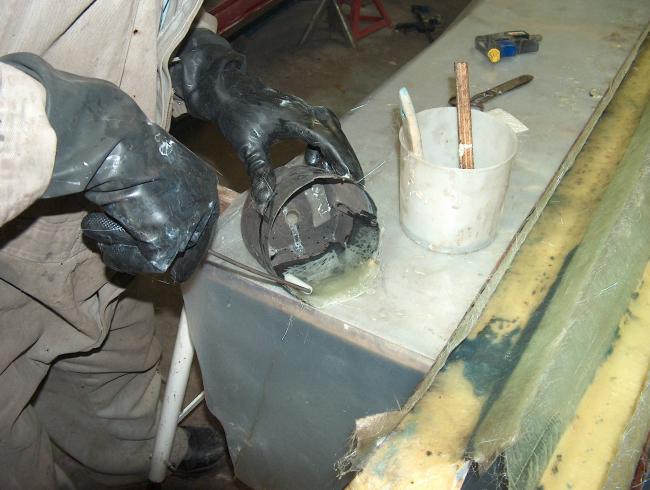
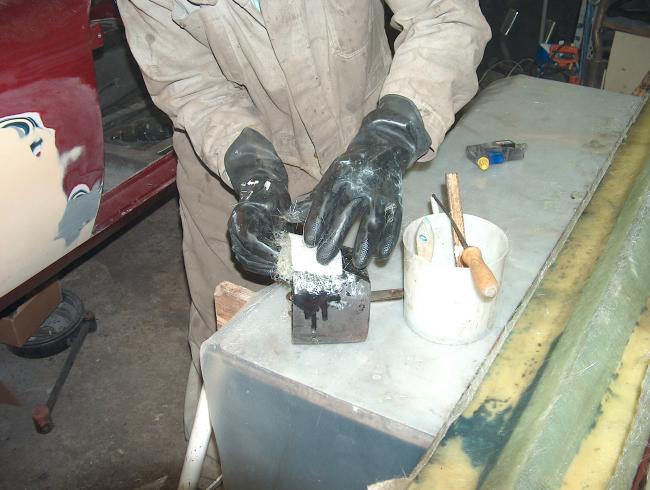
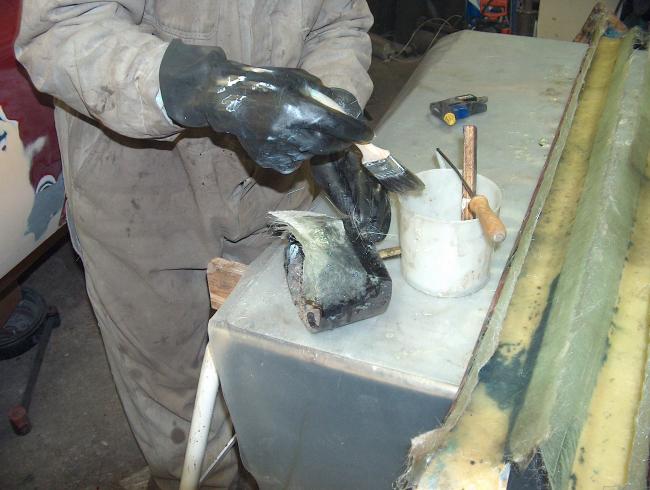
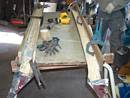
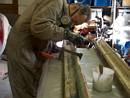
Dad places the fiberglass mats. |
 |
Fiberglass mass is mixed.
It is very poisoning. |
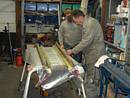 |
Dad puts three fiberglass mats on to the
expension sets, so now they are really solid.
The forms are removed at night. |
 |
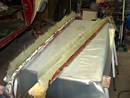
The expansion set without the forms.
One of my extra headlights was broken, so dad repaired it with fiberglass. |
 |
The fiberglass work. |
 |
Max is preparing the GT, so it is ready for fitting the expansion set. |
 |
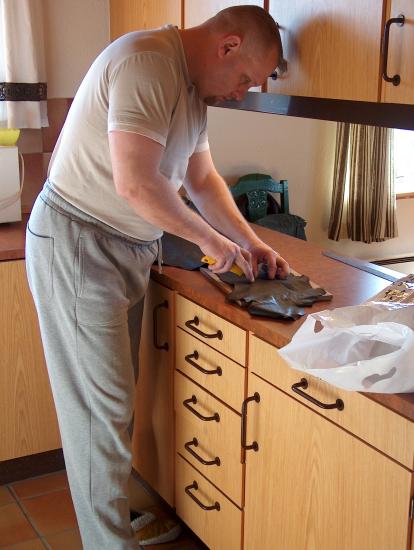
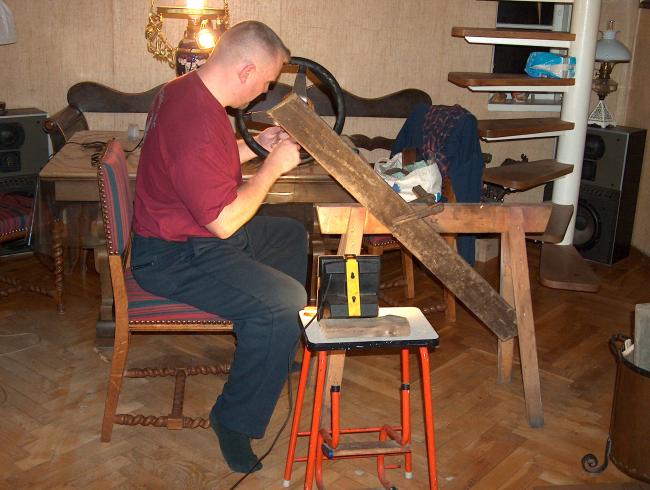
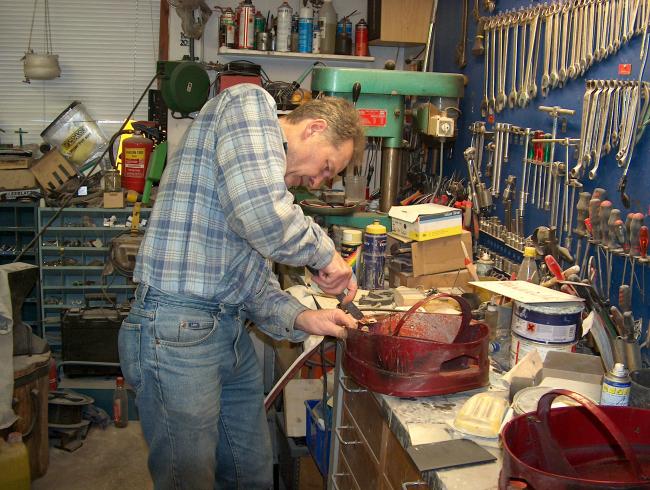
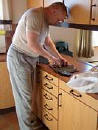
March 2006, week 12:
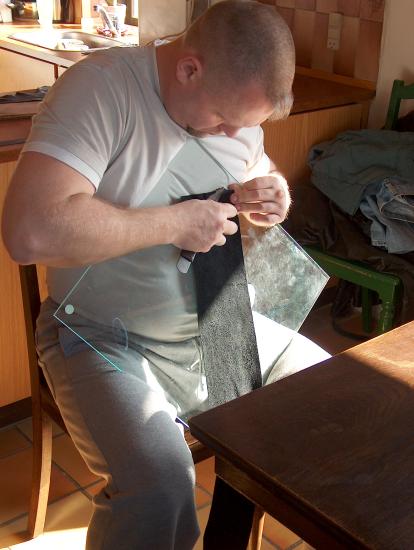
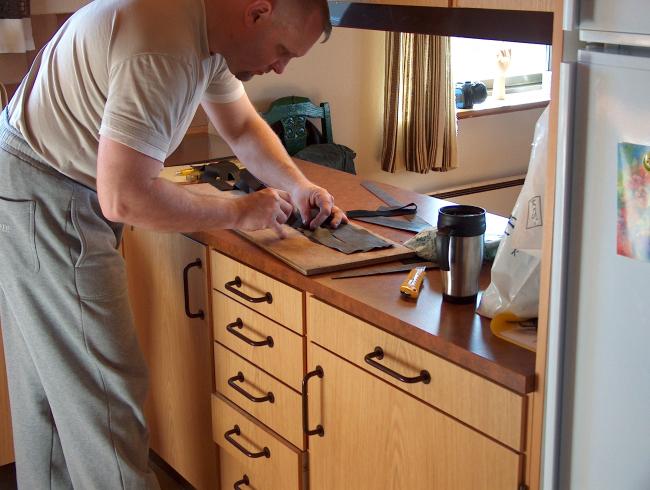
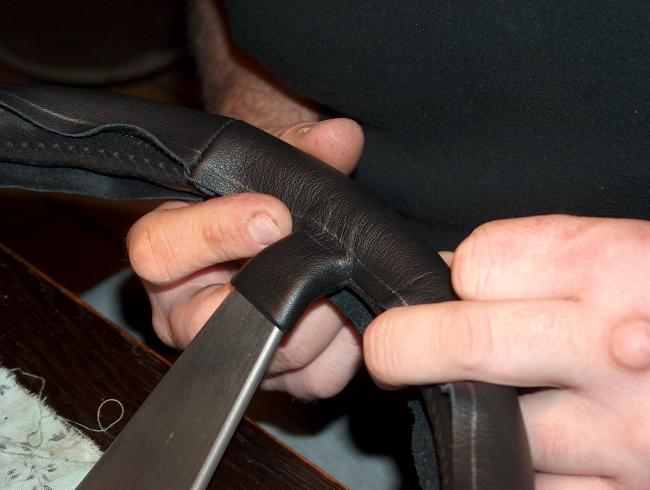
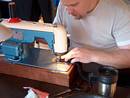
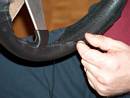
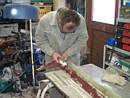
My brother is a retired shoemaker, so he is very good at working with
leather. For my birthday I wanted him to make a new leather steering wheel
for my GT. |
 |
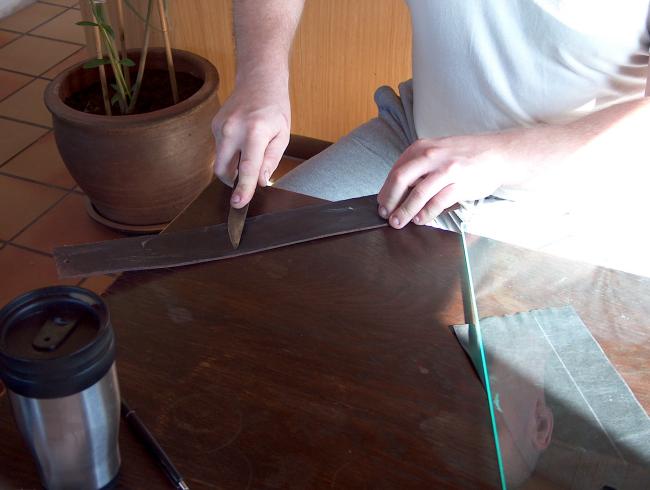
The leather has to have the same thickness all over, so if not, it is
grated. |
 |
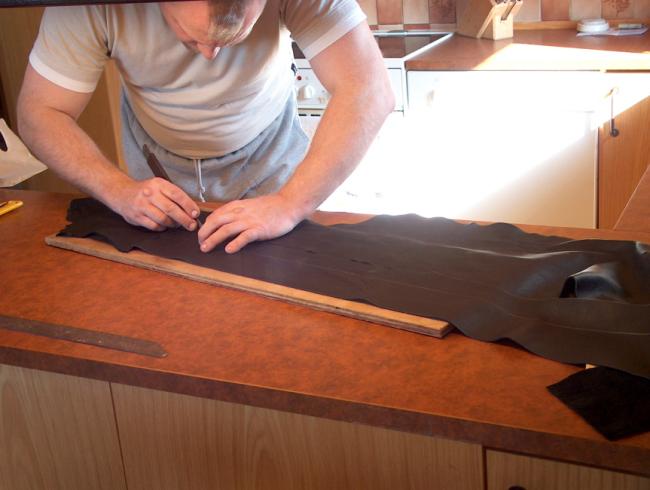
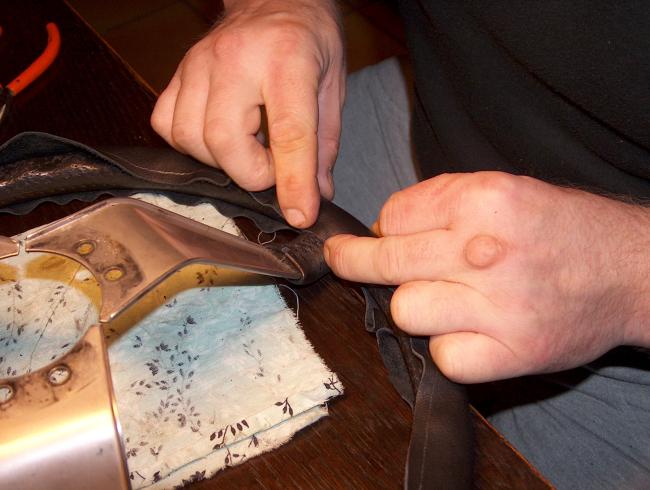
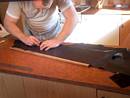
Measuring the size and cut out for the spokes. |
 |
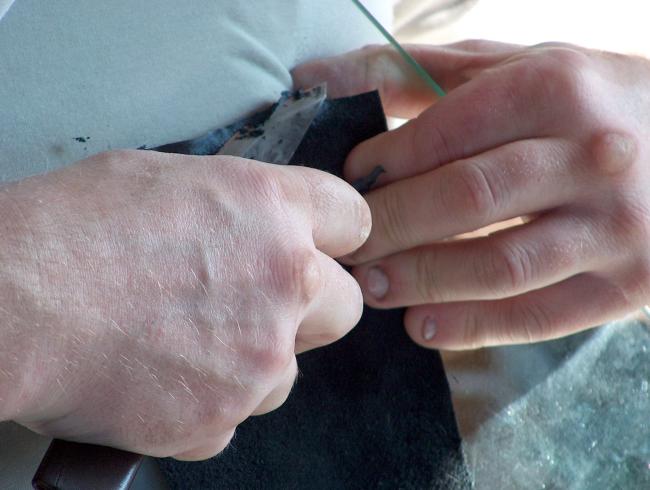
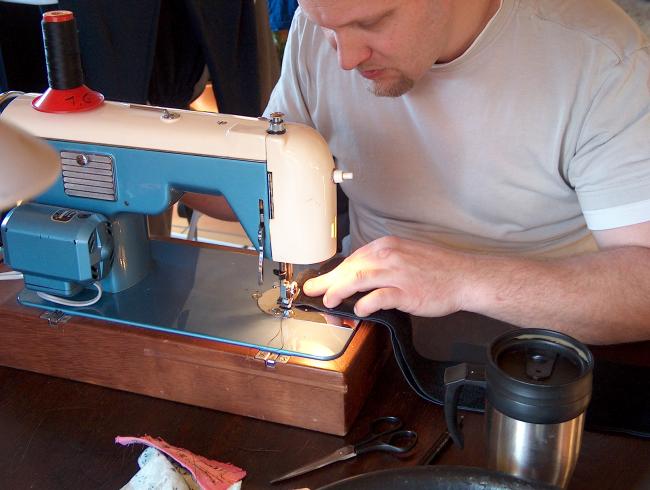
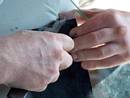
The ring is stitched and the leather is treated again. |
 |
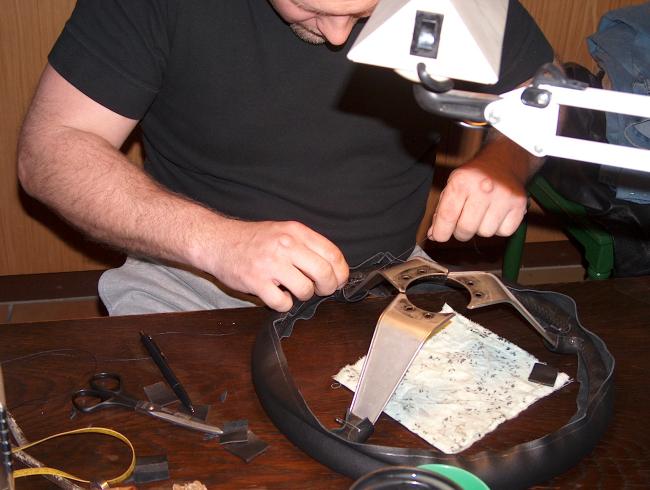
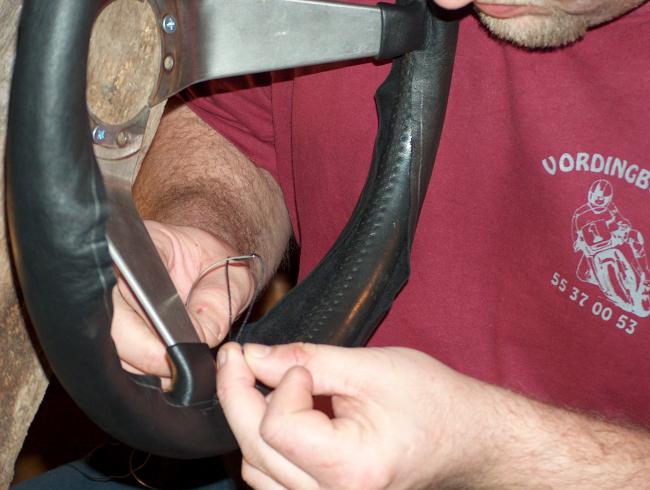
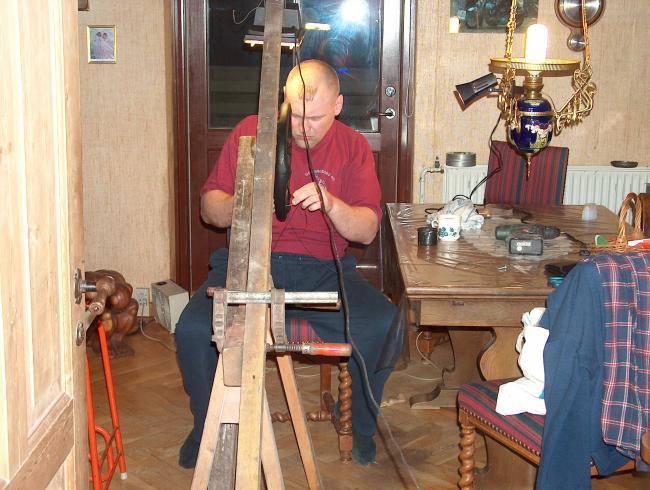
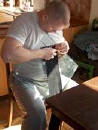
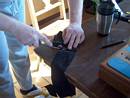
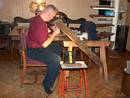
Now the needlework starts. |

 |
Needlework around the spokes. |


 |
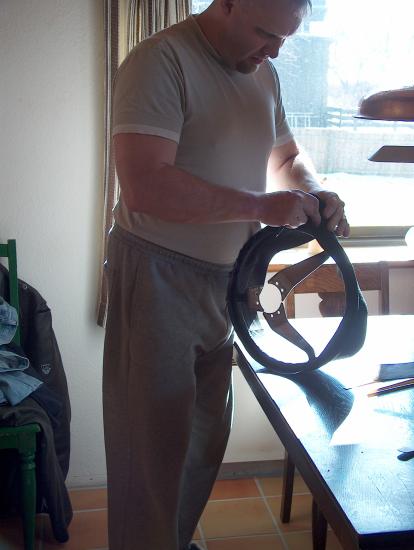
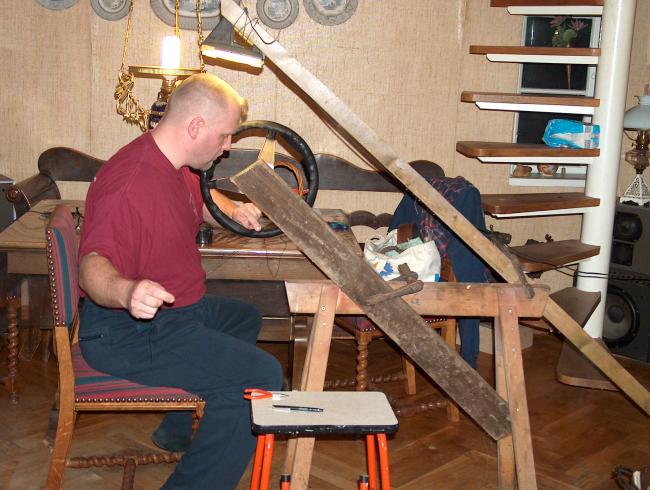
Dad has made a tripod so brother does not hurt his back. |
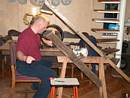 |
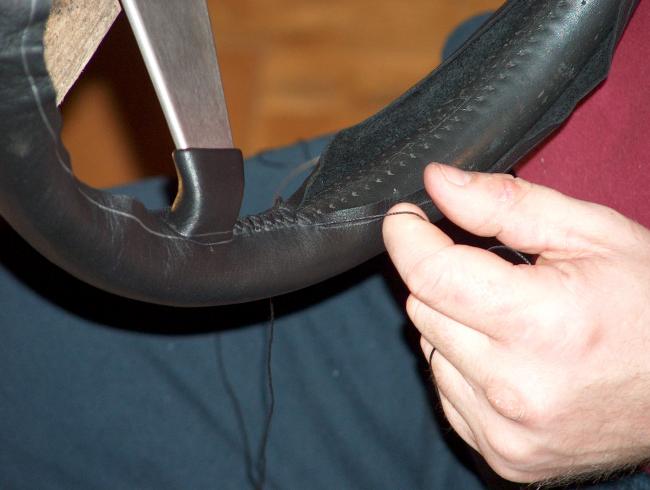
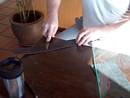
He
sews with two curved needles – the result is amazing. He has also covered my
steering wheel lock with leather.
|
 |
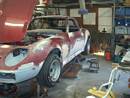
April 2006, week 14:
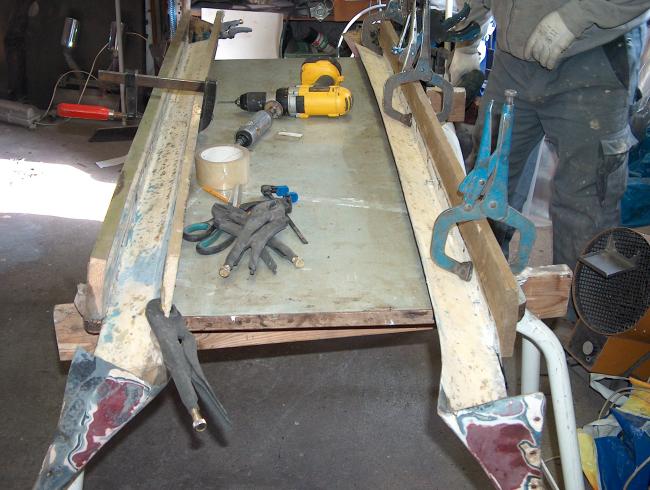
The boys work on the last finish before it is taken to the painter. Dad
rivets the small expansion parts. |
 |
The side expansion set is cut after the reinforcement and in the next photo
it is mounted.
|
 |
Much priming and polishing went on!
And it was stroken a lot. We had to find even the tiniest unevenness. |
 |
The teetering headlights are given a last finish.
There was a lot of loose paint which was scrabed and polished off. |

 |
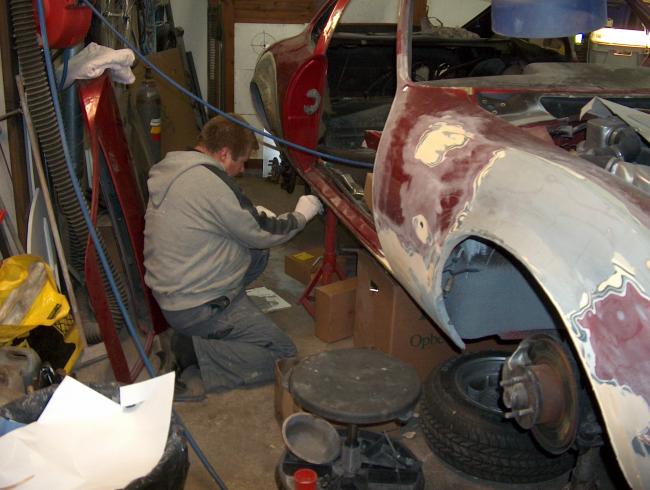
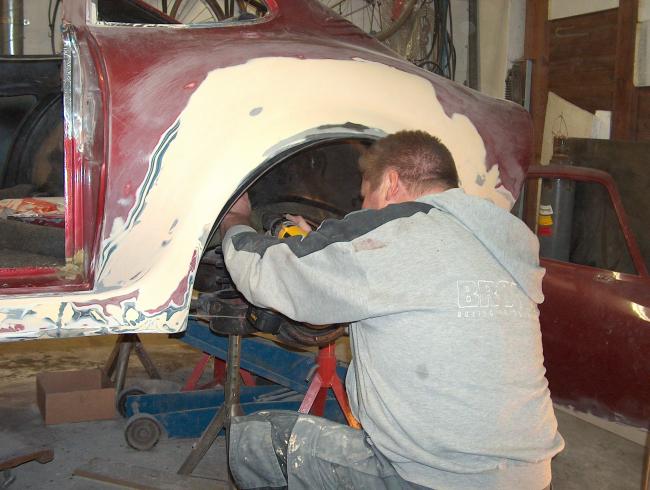
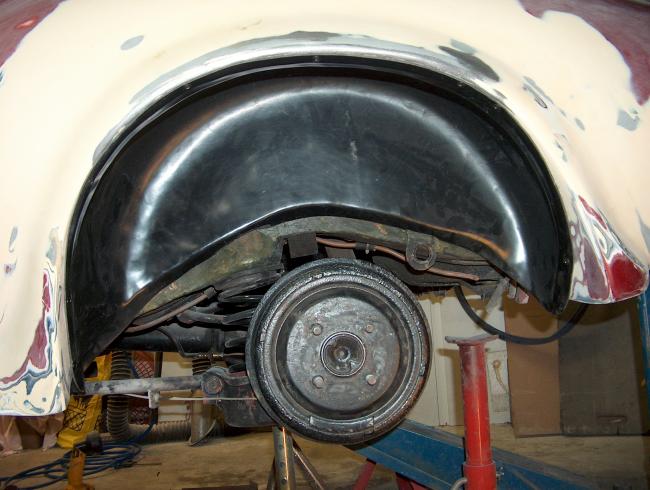
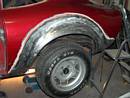
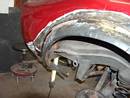
My nice inner mudguards (made by a member of the GT-club) are being adjusted. |
 |
The are inner mudguards are screwn in and fits perfectly. |
|
|
Continue to restoration 2006, week
16-20 |